AUSTIN'S PREMIER TILE INSTALLATION & FLOORING EXPERTS
Austin's trusted experts in custom tile installation, kitchen backsplashes, bathroom tile, and premium flooring. Serving Austin, Round Rock, Cedar Park, Pflugerville, West Lake Hills, Bee Cave, and surrounding areas for over 15 years.
REQUEST AN APPOINTMENT ONLINE
Get your free quote today!
WHY CHOOSE CHAMPS TILE AUSTIN?
Need a trusted tile installation company for custom tile work, kitchen backsplashes, bathroom tiles, or premium flooring? Our experienced team delivers quality, integrity, and reliable results.
LICENSED & INSURED PROFESSIONALS
Fully certified tile installation contractors with comprehensive insurance coverage and professional certifications. Your project is protected every step of the way.
15+ YEARS SERVING AUSTIN
For over 15 years, we've provided exceptional tile installation and flooring services, earning hundreds of five-star reviews from Austin homeowners and businesses.
PREMIUM MATERIALS & CRAFTSMANSHIP
We specialize in ceramic, porcelain, natural stone, glass, and mosaic tiles. Each project features premium materials, expert installation, and lasting durability.

OUR 3-STEP TILE INSTALLATION PROCESS:
FAST, TRANSPARENT, AND BUILT TO LAST
Your tile project shouldn't be complicated. At Champs Tile, our process is straightforward, from your first call through final inspection. Expert installation, complete transparency, and no shortcuts.
STEP 1: GET IN TOUCH
Ready for a tile upgrade? Contact us by phone, email, or online. We're available for consultations about kitchen backsplashes, bathroom tile, flooring projects, and custom tile work.
STEP 2: GET A FAST, CUSTOMIZED QUOTE
Our tile experts inspect your space, discuss your design vision, and provide clear options. You'll get a detailed plan, including tile selection, materials, timelines, and accurate pricing.
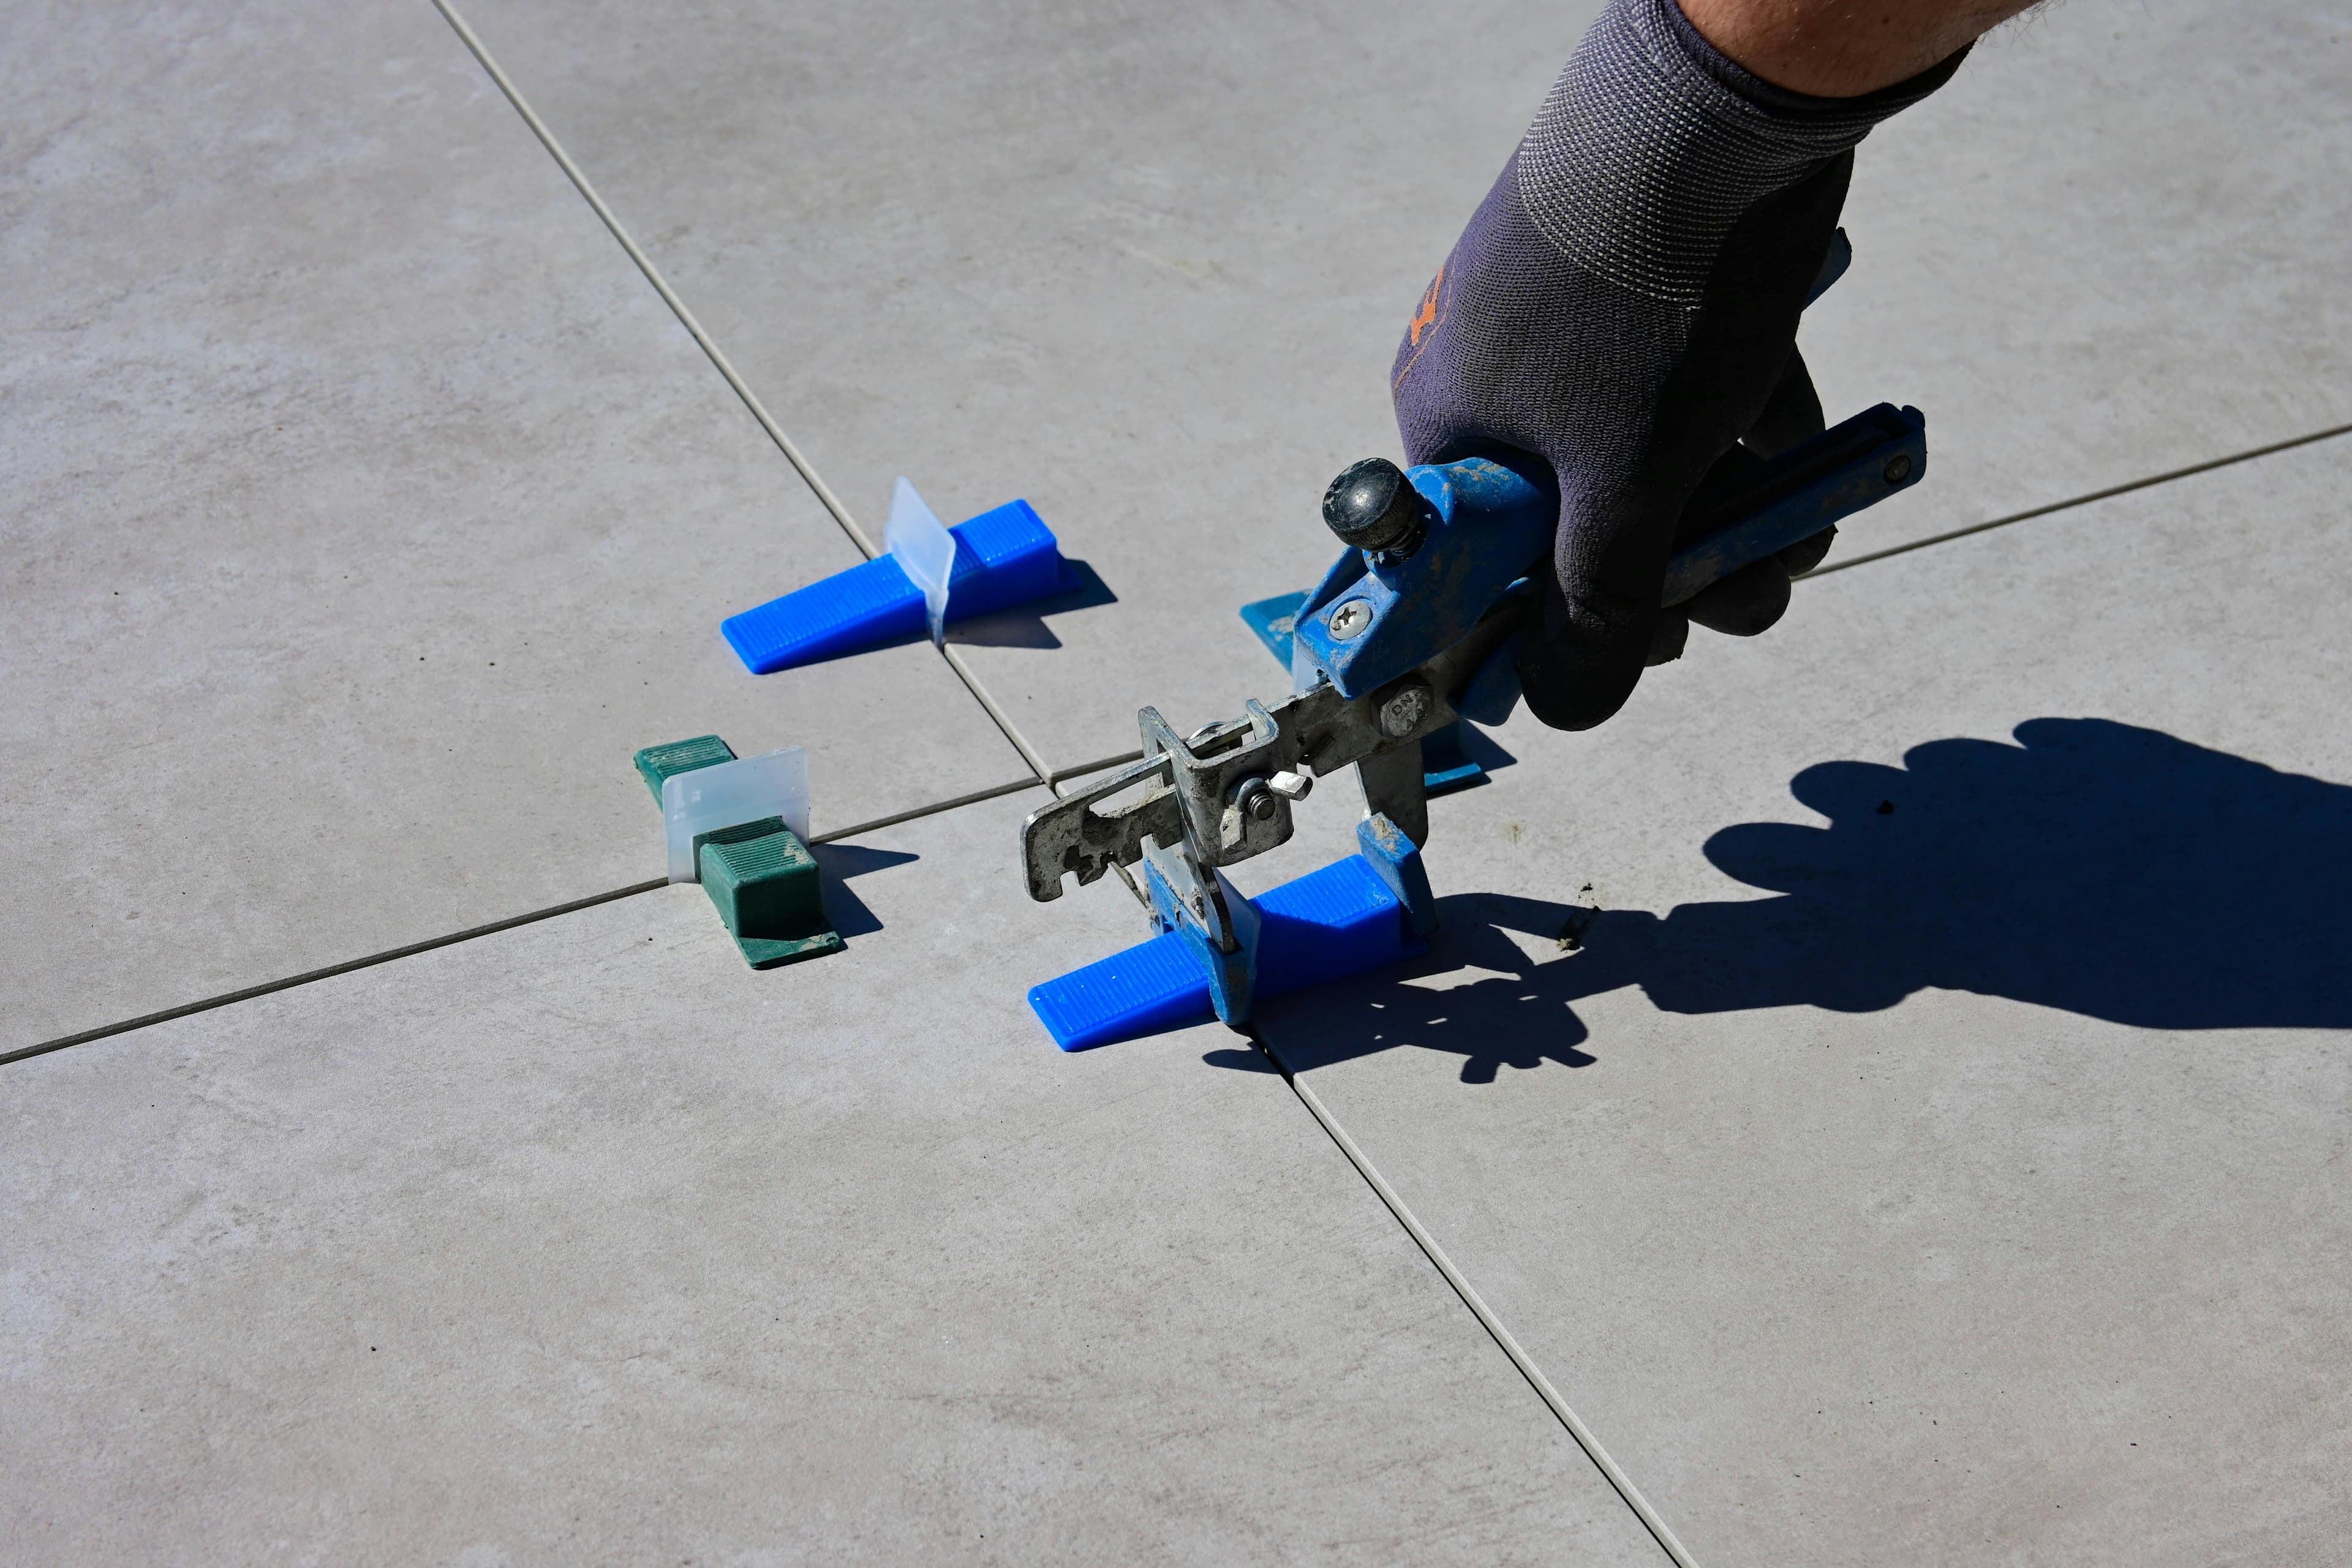
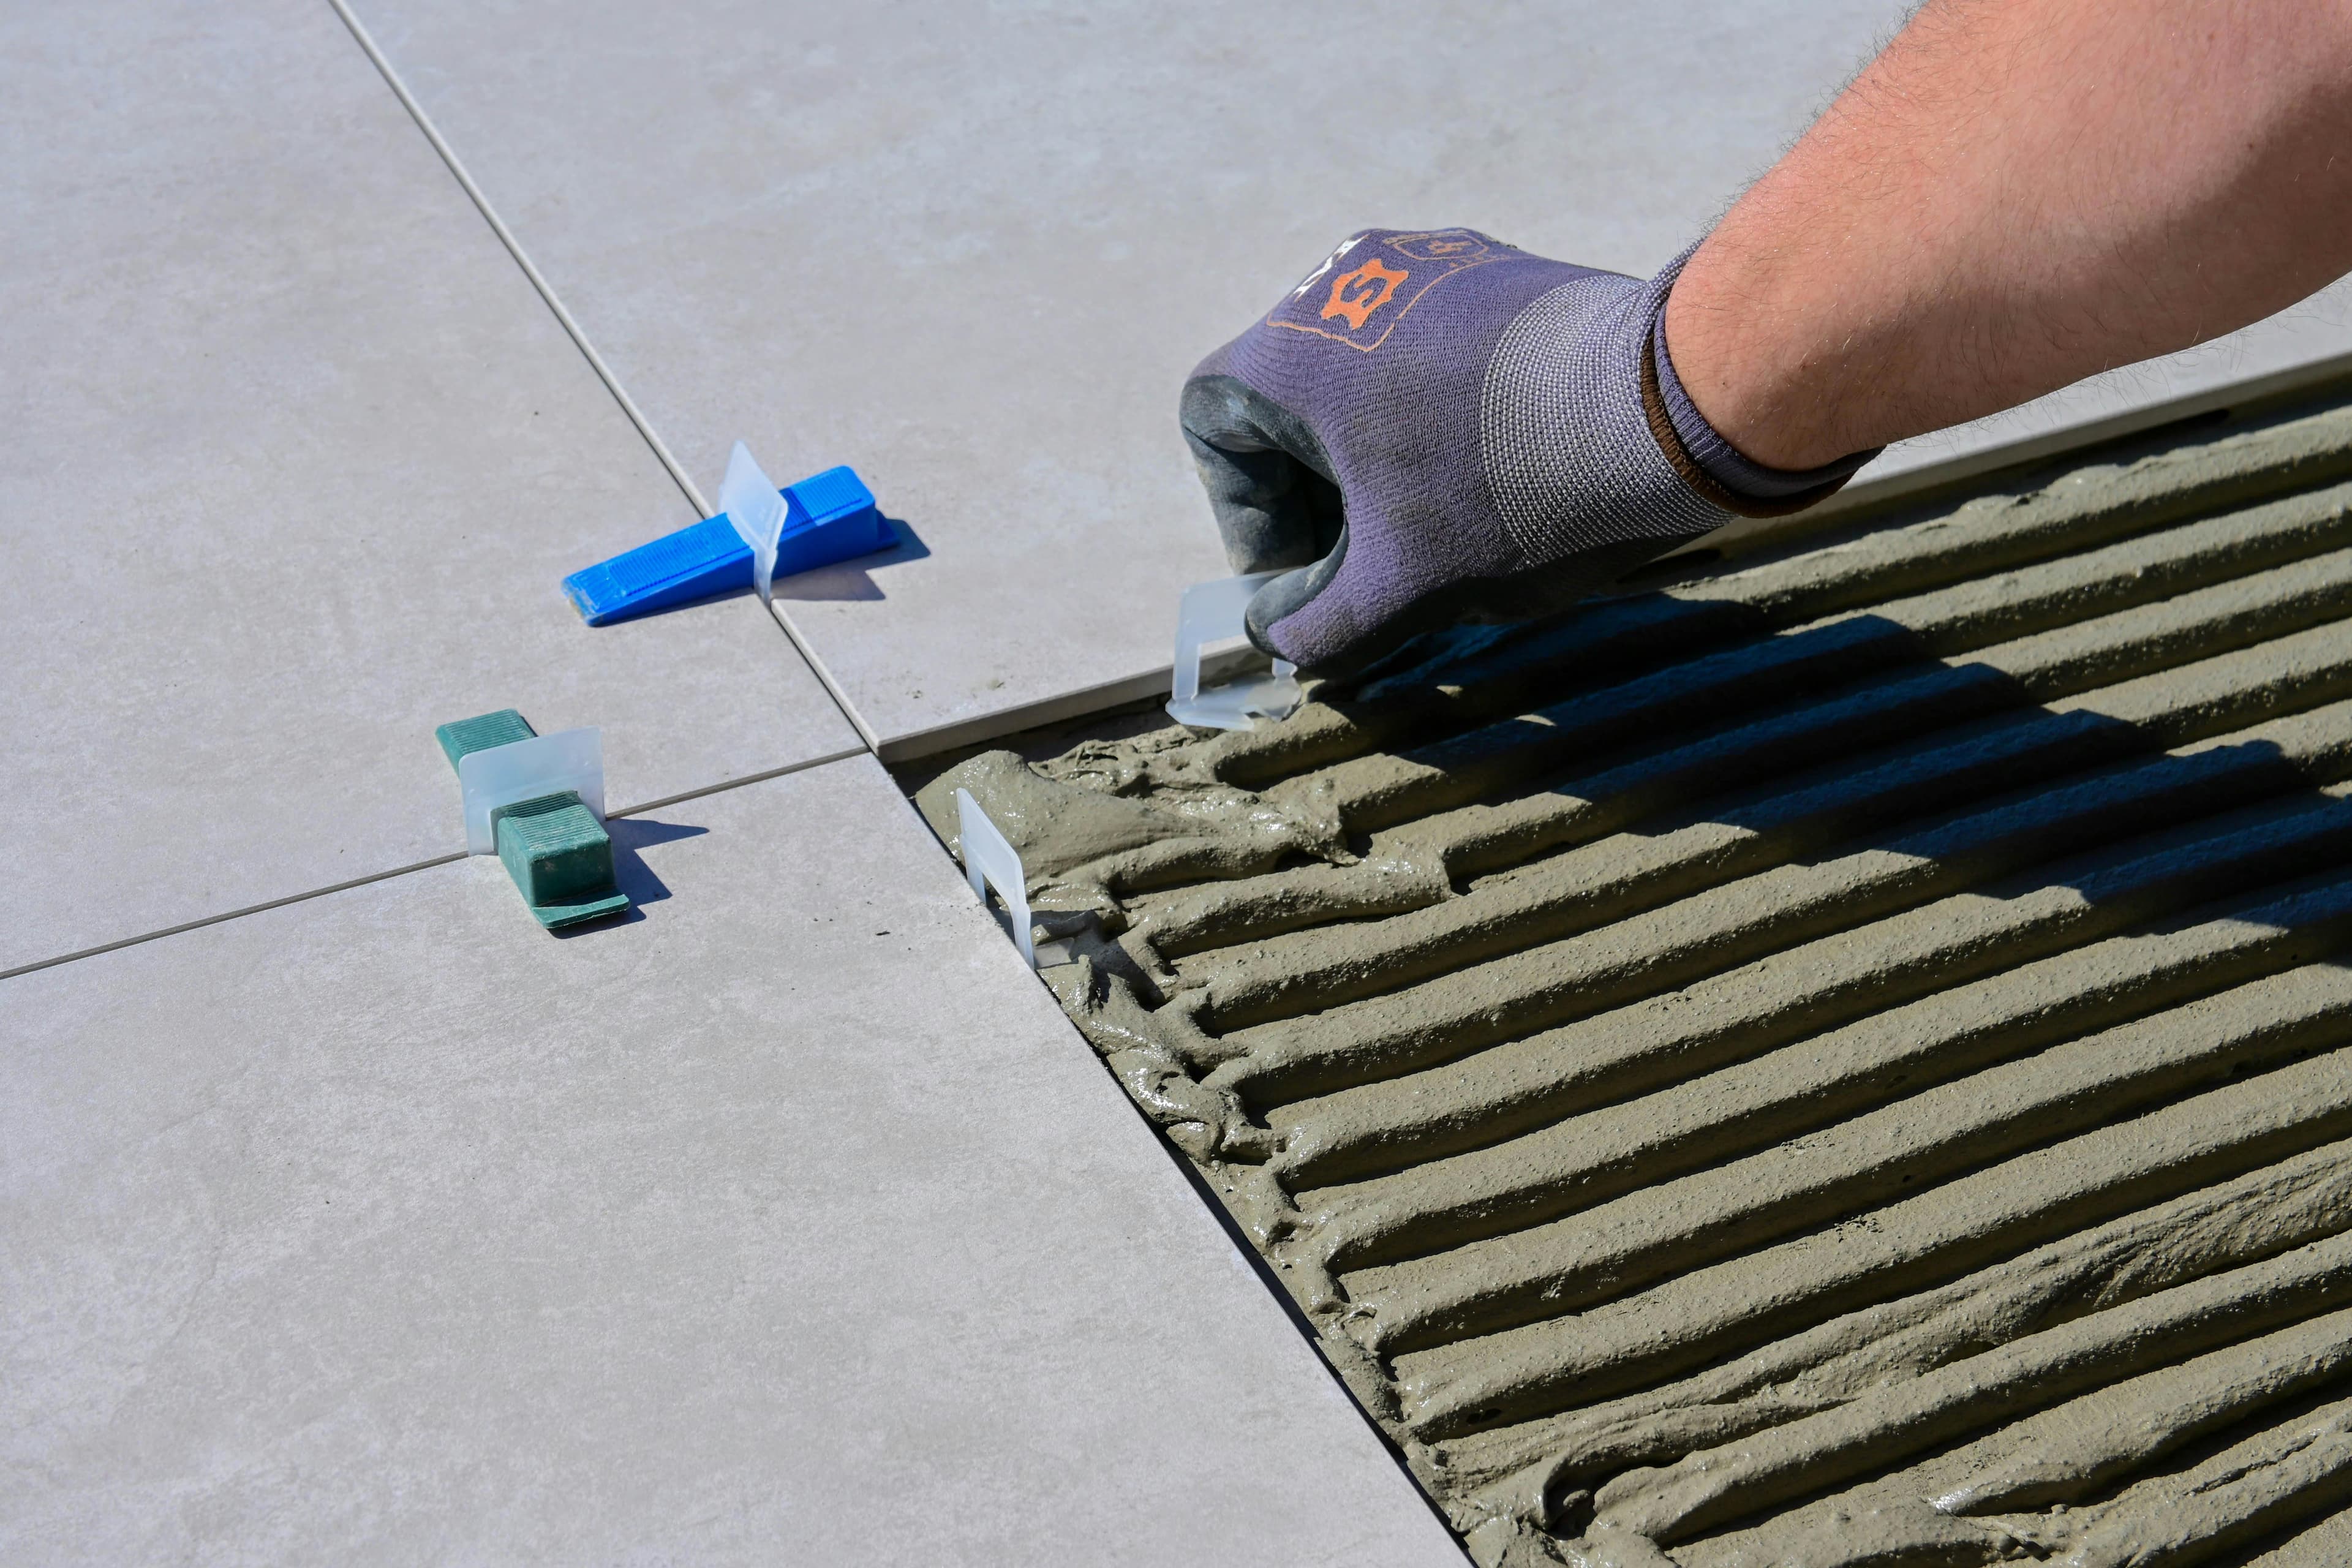
STEP 3: PROFESSIONAL INSTALLATION
After approval, we begin your tile installation using premium materials and expert craftsmanship. Your beautiful new tiles include quality warranties, installed by certified professionals.
Expert Tile Installation & Flooring Solutions
Custom Tile Work | Beautiful Designs | Professional Installation
Kitchen Backsplash
Transform your kitchen with stunning custom backsplash designs. From subway tile to intricate mosaics.
- Custom Patterns
- Ceramic & Porcelain
- Glass Tile
- Natural Stone
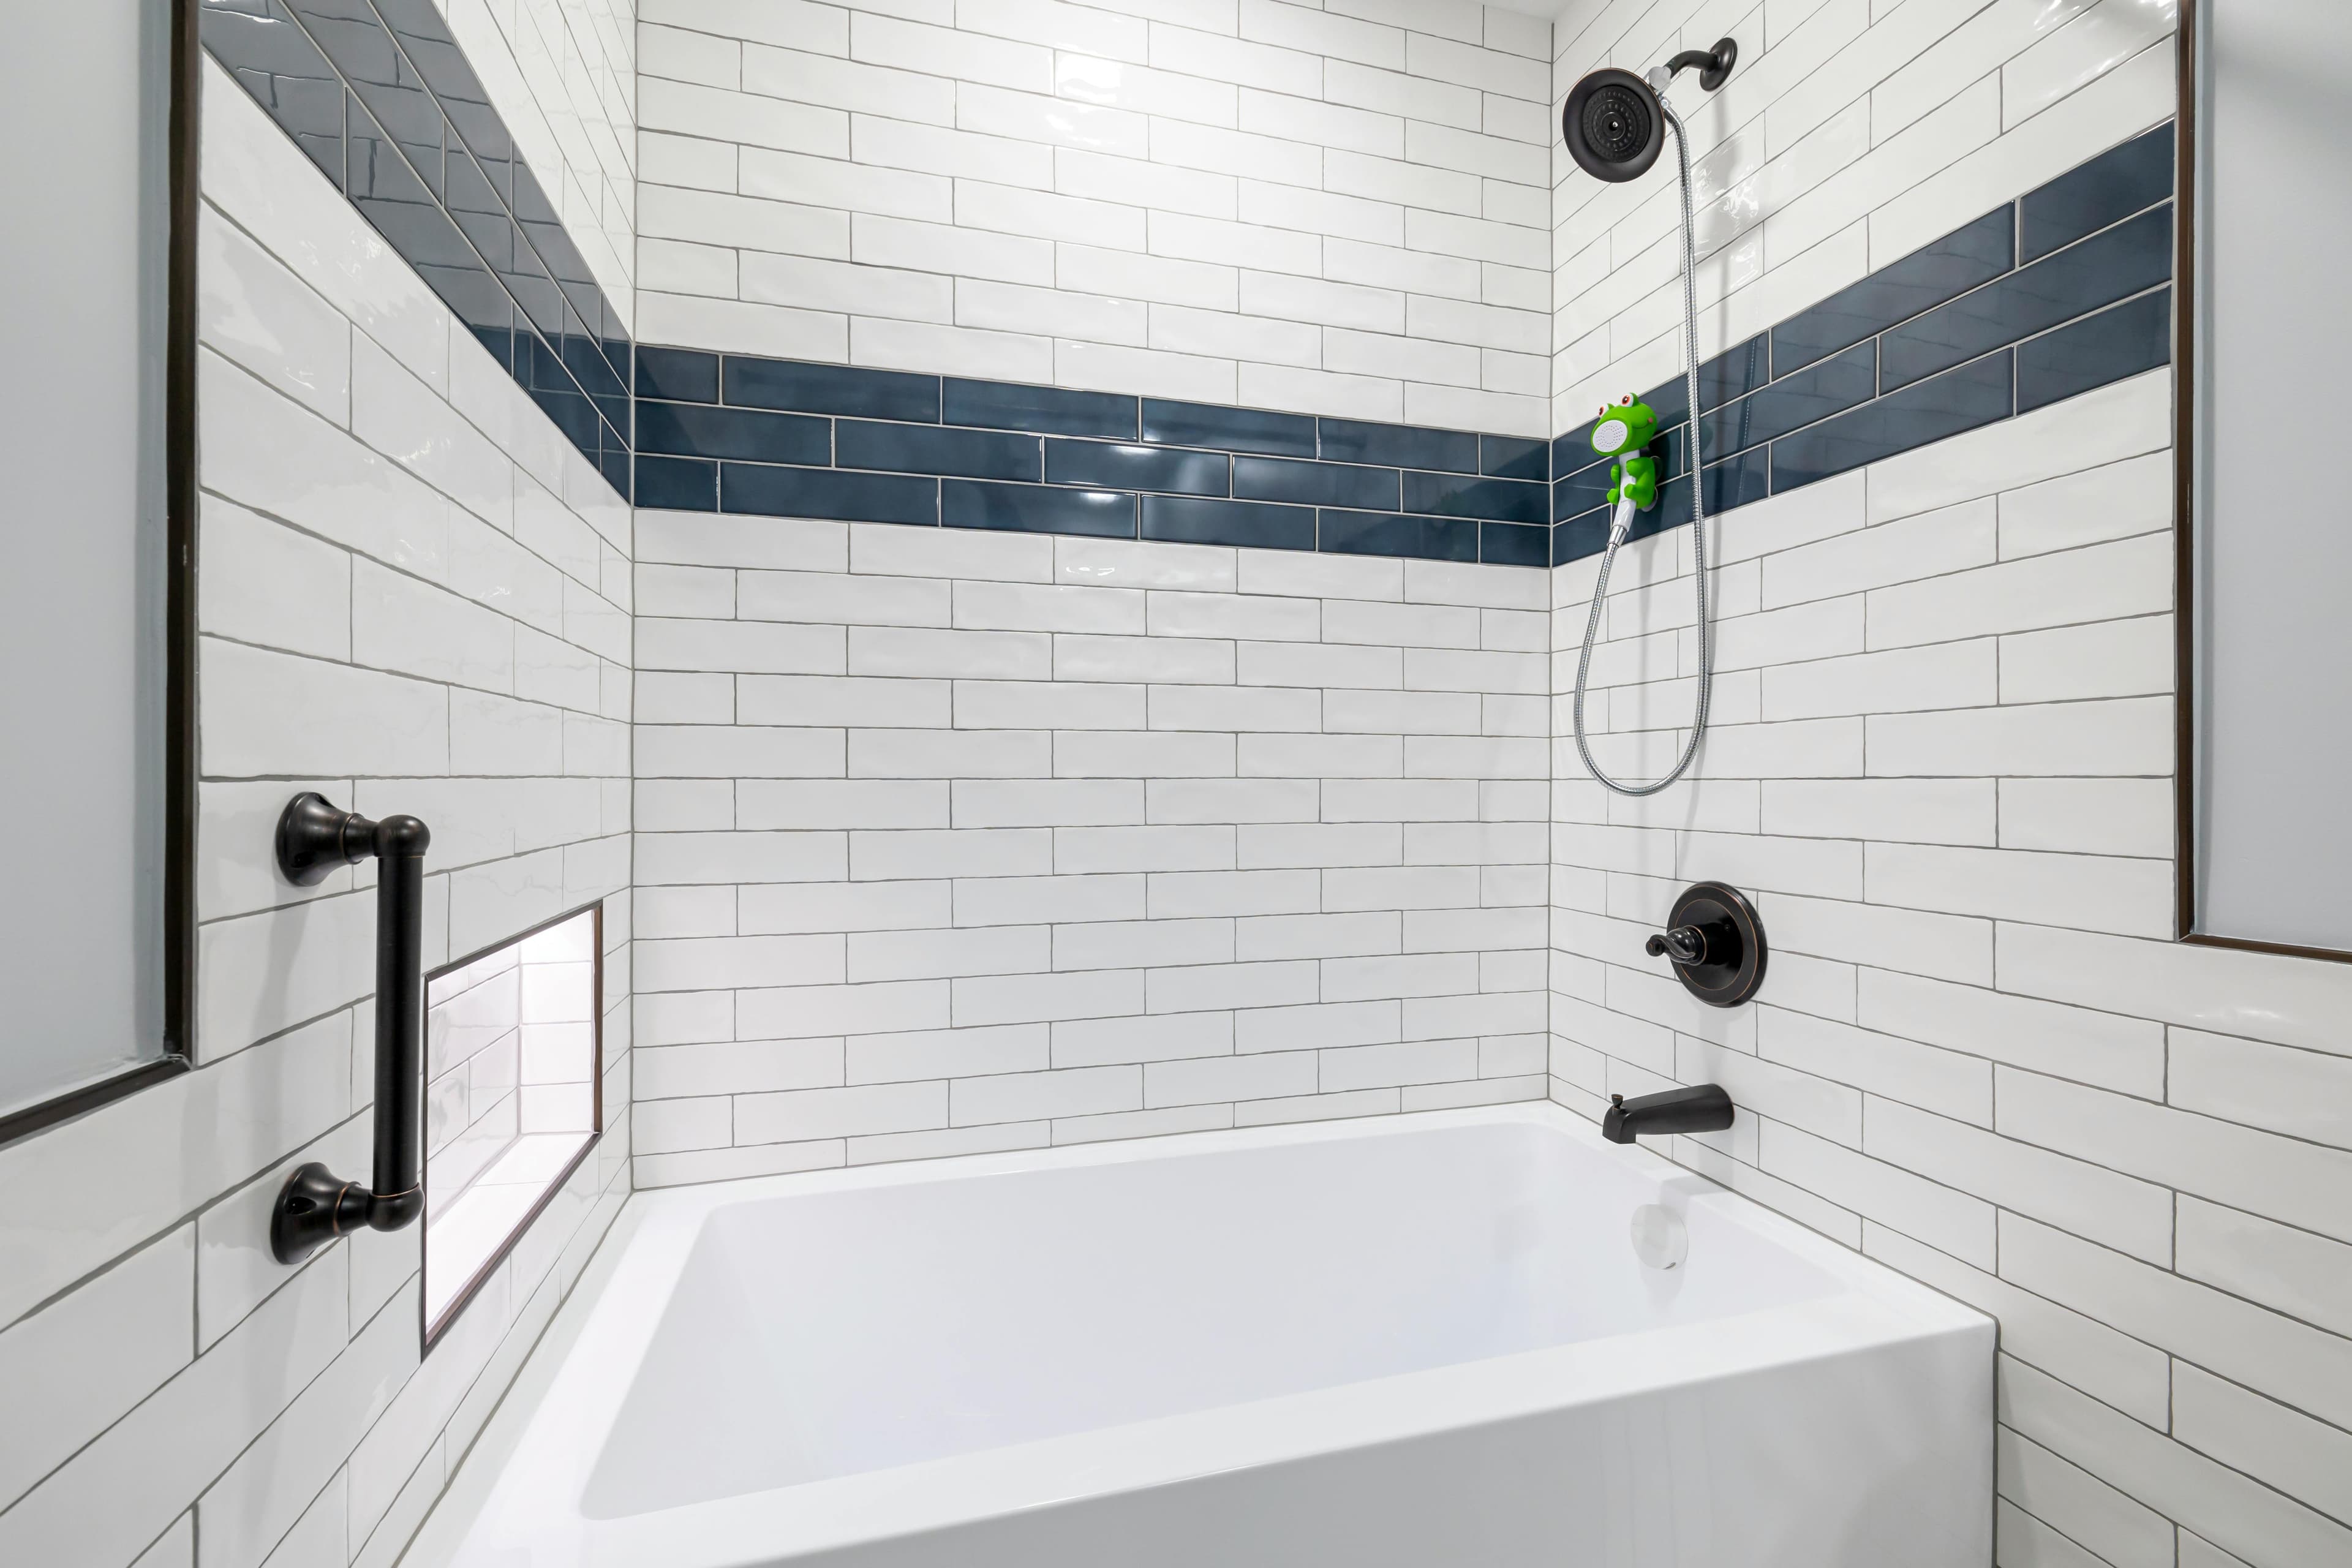
Bathroom Tile
Beautiful, water-resistant bathroom tile for showers, floors, walls, and tub surrounds.
- Shower Walls
- Floor Tile
- Tub Surrounds
- Decorative Accents
Premium Flooring
Durable, beautiful floors for every room. Expert installation of tile, LVP, and natural stone.
- Tile Flooring
- Luxury Vinyl Plank
- Natural Stone
- Wood-Look Tile
Austin's Trusted
Tile Installation Experts
At Champs Tile, we combine superior craftsmanship with personalized service to bring your vision to life. Our experienced team specializes in custom tile work, creating stunning spaces that last.
Expert Craftsmanship
15+ years of tile installation experience
Custom Designs
Tailored tile solutions for your unique style
Quality Materials
Premium products built to last
Licensed & Insured
Fully certified and bonded contractors
19 Google reviews
Trusted by Austin homeowners for quality tile installation
Serving Greater Austin
Austin • Round Rock • Cedar Park • Pflugerville • West Lake Hills • Bee Cave & More
RECENT TILE INSTALLATION PROJECTS
Take a look at our stunning tile transformations. From kitchen backsplashes to bathroom remodels and floor installations, see the quality craftsmanship that sets us apart.

Bathroom Remodeling
Austin, TX

Bathroom Remodeling
Austin, TX

Bathroom Remodeling
Austin, TX

Bathroom Remodeling
Austin, TX

Bathroom Remodeling
Austin, TX

Bathroom Remodeling
Austin, TX

Bathroom Remodeling
Austin, TX

Bathroom Remodeling
Austin, TX
Bathroom Remodeling
Austin, TX

Bathroom Remodeling
Austin, TX

Bathroom Remodeling
Austin, TX
What Our Clients Say
4.6 out of 5 stars from 19 Google reviews
"Communication was seamless and work quality exceptional."
"This company transformed our cramped bathroom into a stunning, modern space."
"They did an amazing job and I can't wait to use my new shower!"
Read more reviews on Google
View All Google ReviewsReady to Transform
Your Space with Tile?
Take the first step in transforming your space. Contact Champs Tile today for a free consultation and quote.
Serving Austin, TX & Surrounding Areas